
Tiles Over Existing Tiles
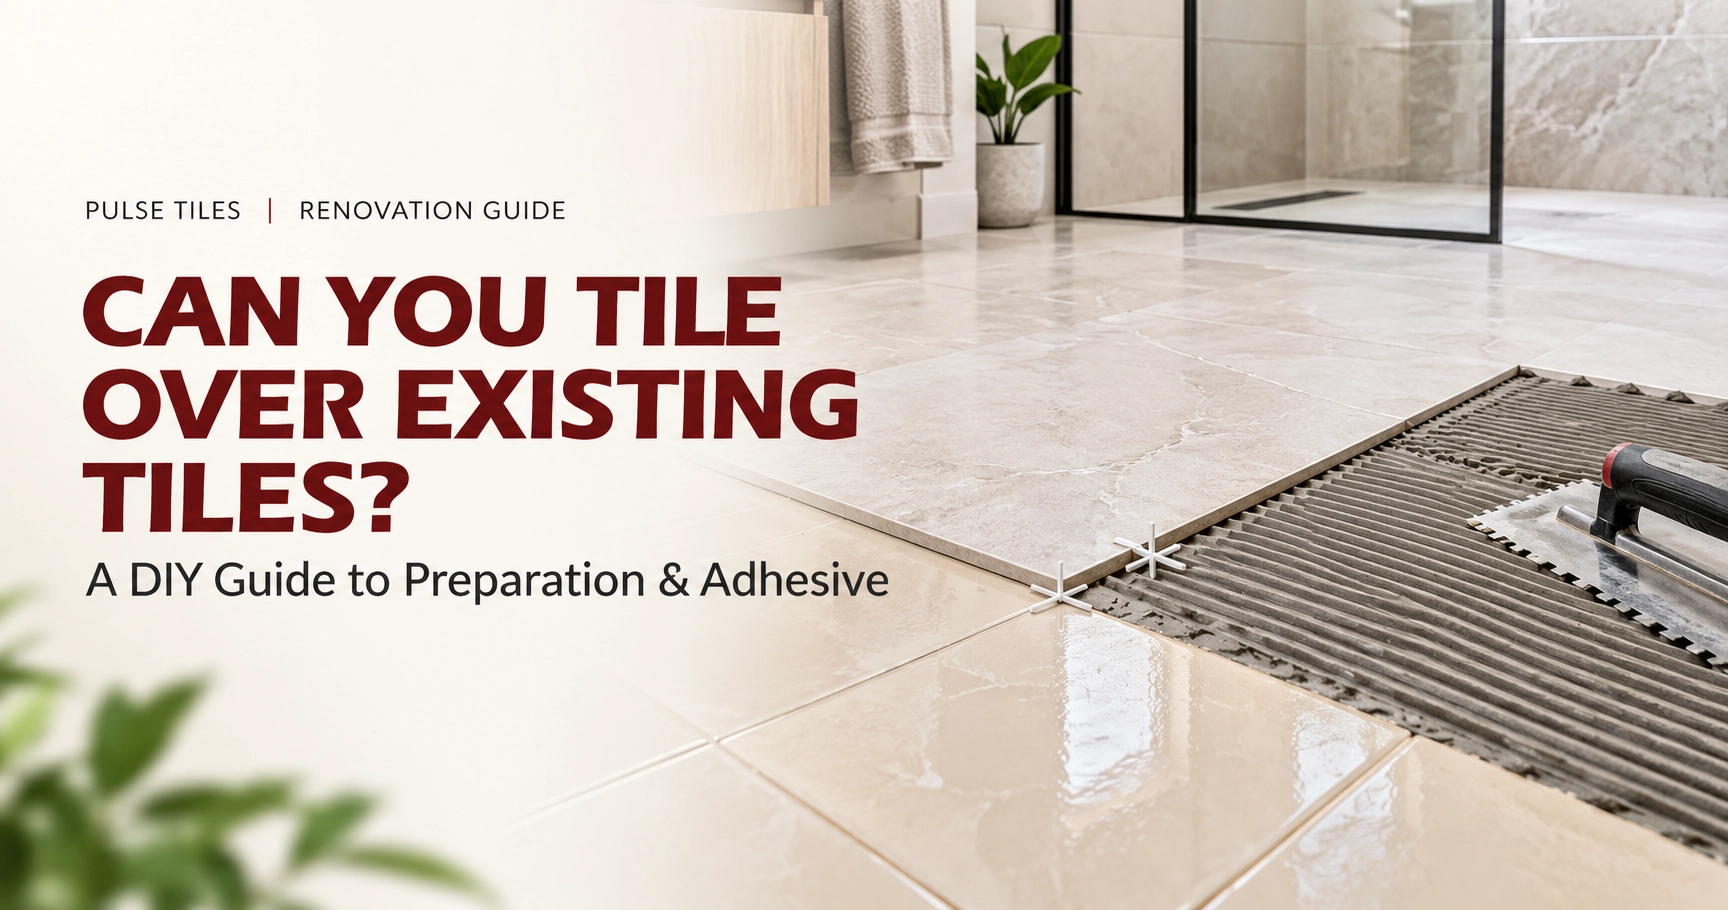
If your existing tiles are dated but firmly attached, tiling over them can be a faster and cleaner alternative
to removing the whole surface. However, it is not a shortcut that works in every room. The old installation
becomes the foundation for the new one, so its condition, moisture level, flatness and height all matter.
This guide explains how to tile over existing tiles safely, when to stop, and how to choose the right
preparation products and adhesive.
The short answer: yes, you can tile over tiles when the existing tiles are firmly bonded, clean, dry, stable
and suitable for the added height. You must prepare the surface properly, use a bonding primer where
required and choose a flexible tile adhesive approved for the tile and substrate. Never tile over loose tiles,
damp areas, badly uneven surfaces or unresolved movement.
Can You Tile Over Tiles?
Tiling over an existing tiled surface is often called a tile-on-tile installation. It can save demolition time, reduce dust and avoid removing a sound waterproofed surface. It may be useful for a tile-on-tile bathroom renovation, a kitchen update or a floor refresh when the original installation is in good condition.
The important point is that new tiles do not hide structural problems. If old tiles are moving, the new tiles can crack or debond. If water is entering behind the old finish, the added layer can trap the problem. If the surface is uneven, the new layout may show lippage and awkward joints. Treat the old tiles as a substrate that needs to pass a careful inspection before you buy materials.
When Is Tile-on-Tile Renovation Suitable?
| Check the existing surface | What it means |
|---|---|
| Firm and well bonded | Every old tile should be secure. Tap the surface and investigate hollow sounds before continuing. |
| Clean, dry and reasonably flat | Remove grease, soap and dust. The new tile follows the old surface, so major unevenness will remain visible. |
| No active moisture problem | Leaks, dampness and failed waterproofing must be repaired first. Adhesive cannot make a wet substrate sound. |
| Enough height available | Check doors, thresholds, drains, toilets, cabinets and appliances before adding the new tile and adhesive thickness. |
When Should You Remove the Existing Tiles?
Do not tile over tiles if you find loose tiles, hollow-sounding areas that indicate poor adhesion, widespread cracks, swelling, movement or an unstable wall or floor. Remove and repair affected sections, or strip the surface completely if the defects are widespread. A few isolated problems may be repairable, but they must be fixed before priming and tiling.
Tiling over is also unsuitable when the old surface is damp, mouldy from an active leak, badly uneven or contaminated with wax, oil or a cleaner residue that will prevent bonding. In showers and wet rooms, confirm that waterproofing and falls to the drain are still correct. Outdoors, use only a complete exterior-rated system because weather, movement and water exposure make failures more likely.
Prepare Old Tiles for New Tiles
Preparation is the stage that determines whether the new installation lasts. Start by removing fittings that will interfere with the work. Check the surface with a straightedge and mark high or low areas. Scrape away old silicone, wax and loose grout where necessary, then repair holes or damaged patches with a compatible repair material. Do not rely on adhesive to correct major dips or ridges.
Next, clean and degrease the old tiles thoroughly. Kitchens often have cooking grease, while bathrooms may have soap scum and product residue. Rinse or wipe away cleaner residue as directed and let everything dry. On glossy, non-porous tiles, use a bonding primer or key coat made for this type of surface if the adhesive system requires it. Do not substitute ordinary PVA or an unapproved paint primer.
THE TILE-OVER-TILE METHOD
How to Tile Over Existing Tiles: Step by Step
Once the old surface has passed inspection and the preparation products are dry, work in a planned sequence. Read the adhesive and primer instructions before mixing anything. Different tiles, room conditions and substrates may require different drying times, trowel sizes or coverage requirements.
| Step | How to tile over existing tiles |
|---|---|
| 1 | Inspect and repair: remove loose tiles, fill damaged areas and confirm that the old surface is stable, dry and flat enough. |
| 2 | Deep-clean: remove soap, grease, wax, dust and cleaning residue. Rinse if required and allow the surface to dry completely. |
| 3 | Create a bond: use a suitable bonding primer or key coat for non-porous glazed tiles. Follow its label and drying time. |
| 4 | Plan the layout: dry-lay tiles, mark centre lines and check cuts at walls, doorways, drains and fixtures before spreading adhesive. |
| 5 | Apply the correct tile over tile adhesive with the recommended notched trowel. Do not spread more than you can cover in time. |
| 6 | Set the tiles with even pressure, using spacers and a levelling system where needed. Check faces and joints as you work. |
| 7 | Allow the adhesive to cure as directed. Avoid traffic, water and heavy loads until the system is ready for grouting. |
| 8 | Grout and finish: keep joints clean, remove residue carefully and seal or maintain the finished surface according to the product instructions. |
Choosing Tile Over Tile Adhesive
The adhesive is not a place to improvise. Choose a tile over tile adhesive that is rated for the tile type, format, location and existing surface. A flexible tile adhesive is often important because floors and walls can experience small movements from temperature, building settlement and changes in moisture. The label or technical data should confirm whether it is suitable for non-porous tiles, large-format tiles, wet areas or exterior use.
Use the recommended notched trowel and aim for consistent coverage. Large or heavy tiles may need adhesive applied to the back as well as the substrate, often called back-buttering. Do not add extra water to make adhesive spread further, and do not use a product simply because it is inexpensive or labelled for a different application. The correct system includes the primer, adhesive, grout and movement joints where required.
Bonding Primer, Key Coat and Surface Grip
Old glazed tiles can be smooth and low-absorption, so a bonding primer may be needed to improve adhesion. Some products are described as a bond, key coat or grip primer. Use only a system that is compatible with your adhesive and surface, and apply it at the stated coverage. Too little product may not provide a continuous bond; too much or the wrong primer can create a weak film between layers.
Tile Height at Doorways and Other Details
One of the most common tile-over-tile mistakes is forgetting the finished height. Add the old tile, primer if applicable, adhesive bed and new tile thickness together. Then check tile height at doorways, thresholds, stair edges, skirting boards, floor drains and transitions to rooms that will not be retiled. Doors may need trimming, and a drain or toilet connection may need adjustment.
On walls, check the height of basins, mirrors, shower screens, cabinets, switches and plumbing outlets. Plan the layout before adhesive is spread so cuts do not land in awkward places. Use spacers to keep joints consistent, and consider a levelling system for large-format tiles where the substrate is flat enough and the system is suitable.
DIY Checklist Before You Start
– Confirm every existing tile is firm; remove or repair loose tiles and hollow areas.
– Check that the surface is dry, clean, degreased and free from wax or cleaner residue.
– Repair leaks, failed waterproofing, movement and major unevenness before tiling.
– Choose a compatible bonding primer or key coat and flexible tile adhesive.
– Calculate finished height at doorways, drains, toilets, appliances and room transitions.
– Dry-lay the first rows, plan cuts and keep movement joints where the system requires them.
Final Recommendation
So, can you tile over tiles? Yes, when the old installation is a sound, dry and stable base and you prepare it with the
correct products. It is not suitable for loose, hollow, damp or badly uneven surfaces, and it should not be used to cover up a leak or failed waterproofing. If the checks pass, a compatible bonding primer, flexible tile adhesive, accurate spacers and careful height planning can make a tile-on-tile renovation a practical DIY project.
Planning your renovation? Visit Pulse Tiles to explore tile adhesives, bonding products, key coats, spacers
and tiling tools for your next project. If the existing surface is unstable or the area has a moisture problem,
speak to a qualified tiler before purchasing materials.